Configuration
The configuration should be the following paths otherwise Rio will use the default configuration.
MacOS and Linux configuration file path is ~/.config/rio/config.toml.
Windows configuration file path is C:\Users\USER\AppData\Local\rio\config.toml (replace "USER" with your user name).
Updates to the configuration file automatically triggers Rio to render the terminal with the new configuration.
Note that all parameters without a header must be at the beginning of the file, otherwise they will be ignored. Example:
[editor]
program = "vi"
args = []

theme = "dracula" # ignore it, be under the `editor` header
theme = "dracula" # it works, be without heading

[editor]
program = "vi"
args = []
colors
Defining colors in the configuration file will not have any effect if you're using a theme.
The default configuration is without a theme.
Example:
[colors]
# Regular colors
background = '#0F0D0E'
black = '#4C4345'
blue = '#006EE6'
cursor = '#F38BA3'
cyan = '#88DAF2'
foreground  = '#F9F4DA'
green = '#0BA95B'
magenta = '#7B5EA7'
red = '#ED203D'
white = '#F1F1F1'
yellow = '#FCBA28'

# Cursor
cursor = '#F712FF'
vi-cursor = '#12d0ff'

# Navigation
tabs = '#12B5E5'
tabs-foreground = '#7d7d7d'
tabs-active = '#303030'
tabs-active-highlight = '#ffa133'
tabs-active-foreground = '#FFFFFF'
bar = '#1b1a1a'

# Search
search-match-background = '#44C9F0'
search-match-foreground = '#FFFFFF'
search-focused-match-background = '#E6A003'
search-focused-match-foreground = '#FFFFFF'

# Selection`
selection-foreground = '#0F0D0E'
selection-background = '#44C9F0'

# Dim colors
dim-black = '#1C191A'
dim-blue = '#0E91B7'
dim-cyan = '#93D4E7'
dim-foreground = '#ECDC8A'
dim-green = '#098749'
dim-magenta = '#624A87'
dim-red = '#C7102A'
dim-white = '#C1C1C1'
dim-yellow = '#E6A003'

# Light colors
light-black = '#ADA8A0'
light-blue = '#44C9F0'
light-cyan = '#7BE1FF'
light-foreground = '#F2EFE2'
light-green = '#0ED372'
light-magenta = '#9E88BE'
light-red = '#F25E73'
light-white = '#FFFFFF'
light-yellow = '#FDF170'
You can also specify RGBA with hex, for example: #43ff64d9.
confirm-before-quit
Require confirmation before quitting (Default: true).
confirm-before-quit = true
cursor
By default, the cursor shape is set to block. You can also choose from other options like underline and beam.
Additionally, you can enable or disable cursor blinking, which is set to false by default.
Shape
Options: 'block', 'underline', 'beam'
[cursor]
shape = 'block'
Blinking
Enable/disable blinking (default: false)
[cursor]
blinking = false
Blinking-interval
Set cursor blinking interval (default: 800, only configurable from 350ms to 1200ms).
[cursor]
blinking-interval = 800
developer
This property enables log level filter and file. The default level is "OFF" and the logs are not logged to a file as default. The level may be DEBUG, INFO, TRACE, ERROR, WARN or OFF.
[developer]
log-level = "OFF"
enable-log-file = false
If you have any suggestion of configuration ideas to Rio, please feel free to open an issue.
draw-bold-text-with-light-colors
Default is false
draw-bold-text-with-light-colors = false
editor
This setting specifies the editor Rio will use to open the configuration file. By default, the editor is set to vi.
Whenever the key binding OpenConfigEditor is triggered, Rio will use the configured editor and the path to the Rio configuration file.
For example, if you have VS Code installed and want to use it as your editor, the configuration would look like this:
[editor]
program = "code"
args = []
When OpenConfigEditor is triggered, it will execute the command:
$ code <path-to-rio-configuration-file>.
If you set a value for program, Rio will look for it in the default system application directory (/usr/bin on Linux and macOS). If your desired editor is not in this directory, you must specify its full path:
[editor]
program = "/usr/local/bin/code"
args = []
env-vars
Sets environment variables.
Example:
env-vars = ["FIRST_VARIABLE_NAME=123", "SECOND_VARIABLE_NAME=456"]
fonts
The font configuration default:
[fonts]
size = 18
features = []

[fonts.regular]
family = "cascadiacode"
style = "Normal"
width = "Normal"
weight = 400

[fonts.bold]
family = "cascadiacode"
style = "Normal"
width = "Normal"
weight = 800

[fonts.italic]
family = "cascadiacode"
style = "Italic"
width = "Normal"
weight = 400

[fonts.bold-italic]
family = "cascadiacode"
style = "Italic"
width = "Normal"
weight = 800
fonts.family
Note: You can set different font families but Rio terminal will always look for regular font bounds whene
You can also set family on root to overwrite all fonts.
fonts.family = "cascadiacode"
fonts.extras
You can also specify extra fonts to load:
fonts.extras = [{ family = "Microsoft JhengHei" }]
fonts.features
In case you want to specify any font feature:
fonts.features = ["ss02", "ss03", "ss05", "ss19"]
Note: Font features do not have support to live reload on configuration, so to reflect your changes, you will need to close and reopen Rio.
fonts.emojis
You can also specify which emoji font you would like to use, by default will be loaded a built-in Twemoji color by Mozilla.
In case you would like to change:
# Apple
# [fonts.emoji]
# family = "Apple Color Emoji"

# In case you have Noto Color Emoji installed
# [fonts.emoji]
# family = "Noto Color Emoji"
fonts.hinting
Enable or disable font hinting. It is enabled by default.
fonts.hinting = true
fonts.ui
You can specify user interface font on Rio.
Note: fonts.ui does not have live reload configuration update, you need to close and open Rio again.
[fonts.ui]
family = "Departure Mono"
ignore-selection-foreground-color
Default is false
ignore-selection-foreground-color = false
keyboard
disable-ctlseqs-alt- Disable ctlseqs with ALT keys- Useful for example if you would like Rio to replicate Terminal.app, since it does not deal with ctlseqs with ALT keys
Example:
[keyboard]
disable-ctlseqs-alt = false
line-height
Default is 1.0.
Note: It cannot be settled as any value under 1.0.
line-height = 1.5
hide-mouse-cursor-when-typing
Default is false
hide-mouse-cursor-when-typing = false
navigation.mode
Rio has multiple styles of showing navigation/tabs.
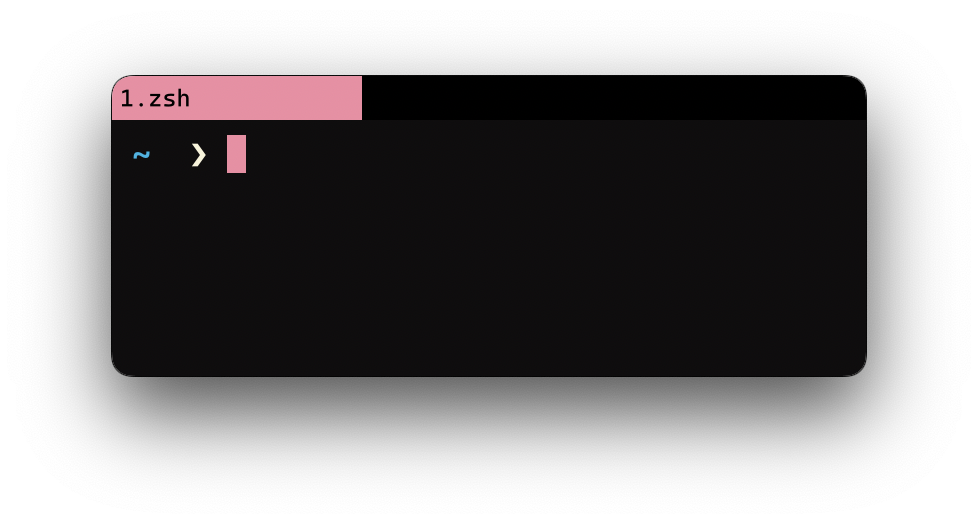
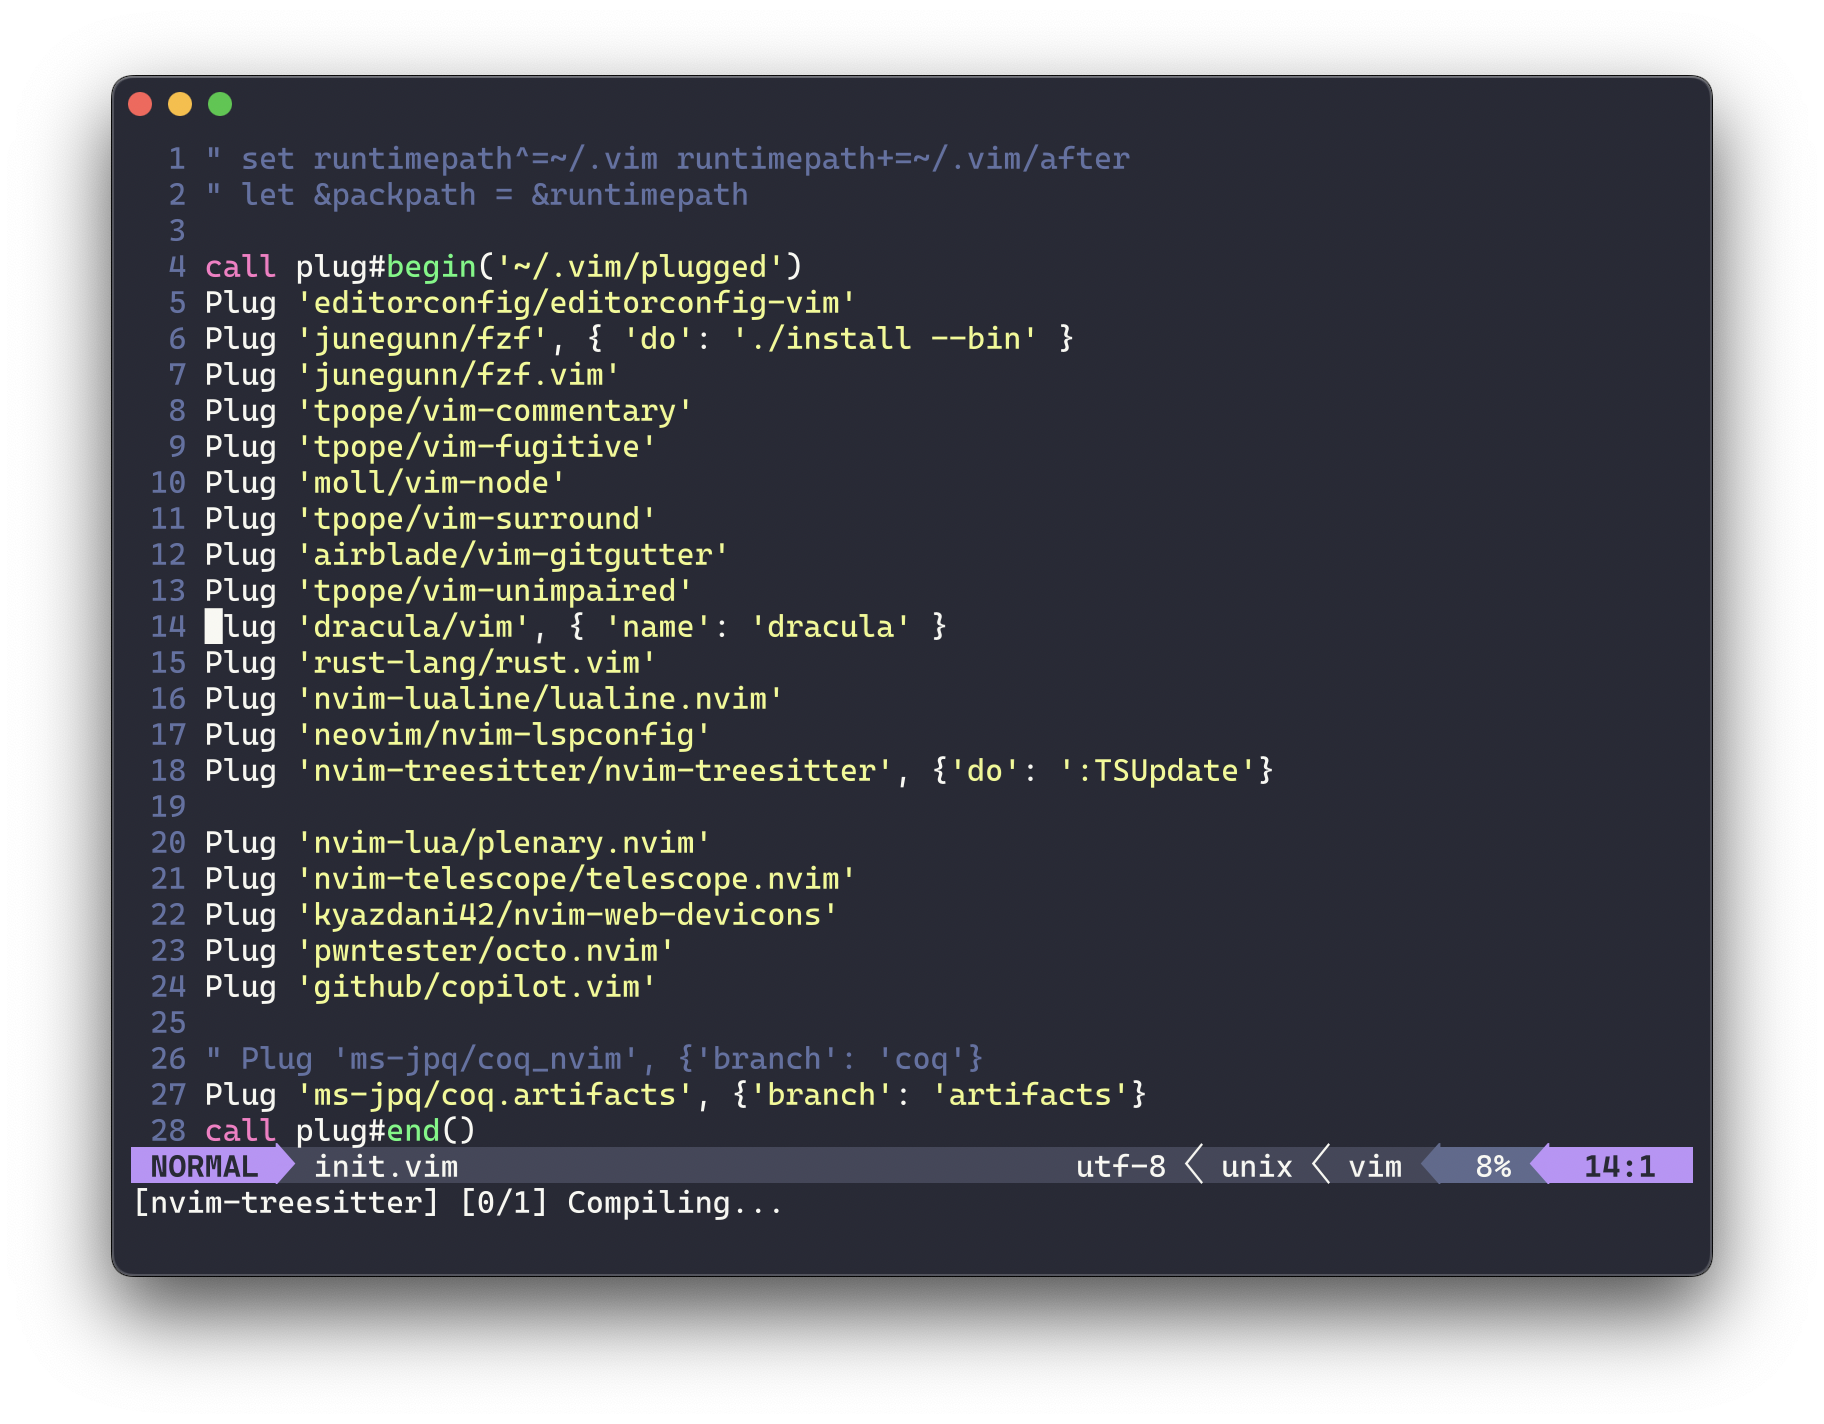
Bookmark
Note: The example below is using the Dracula color scheme instead of Rio default colors.
Bookmark is the default navigation mode.
Usage:
[navigation]
mode = "Bookmark"
NativeTab (MacOS only)
Usage:
[navigation]
mode = "NativeTab"
BottomTab
Note: BottomTab does not support click mode yet.
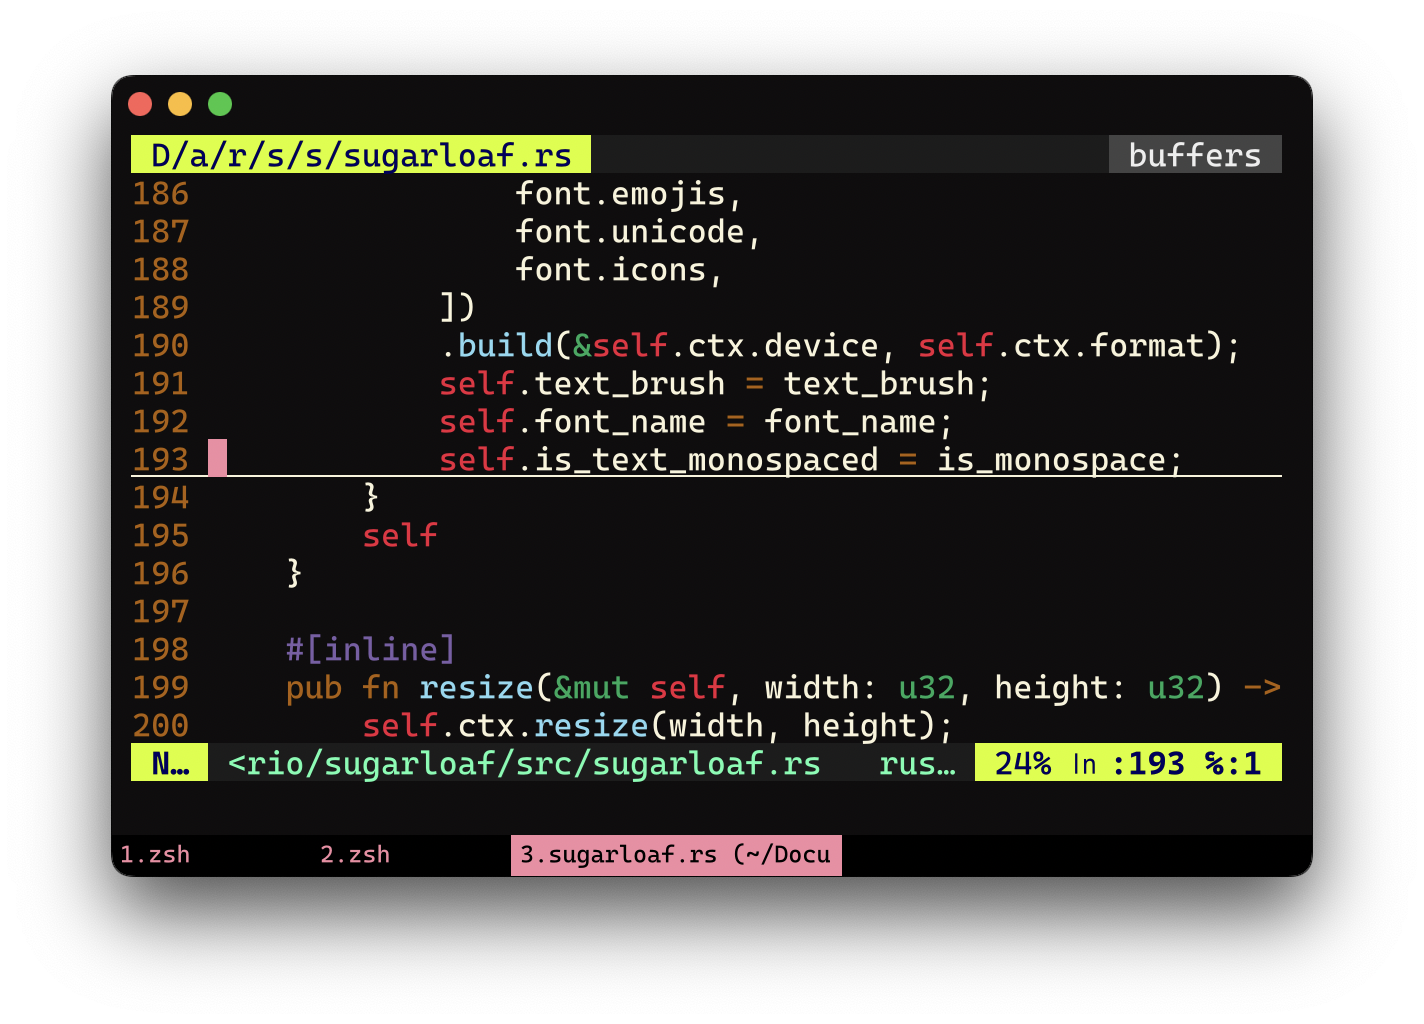
Usage:
[colors]
tabs = "#000000"

[navigation]
mode = "BottomTab"
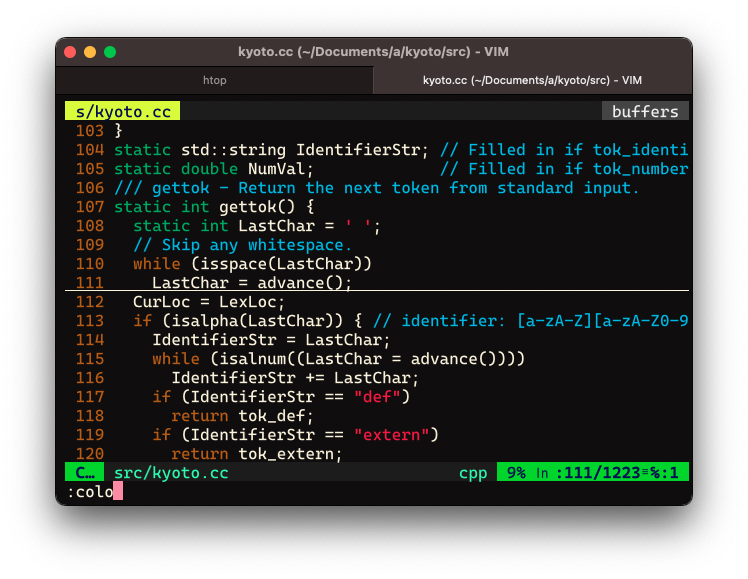
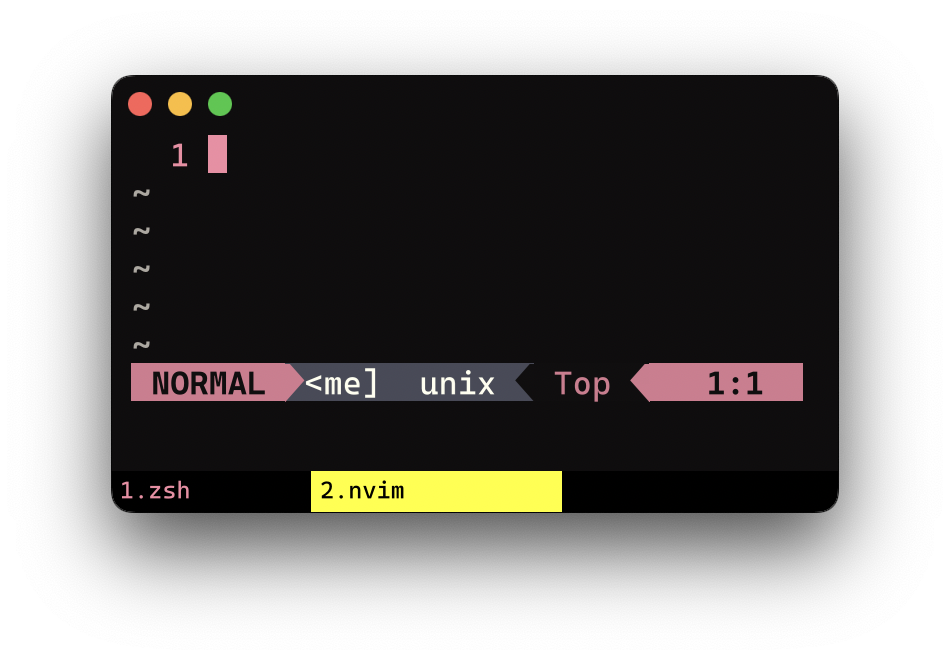
TopTab
Note: TopTab does not support click mode yet.
Usage:
[colors]
tabs = "#000000"

[navigation]
mode = "TopTab"
Plain
Plain navigation mode will simply turn off any tab key binding.
This mode is perfect if you use Rio terminal with tmux or zellij.
Usage:
[navigation]
mode = "Plain"
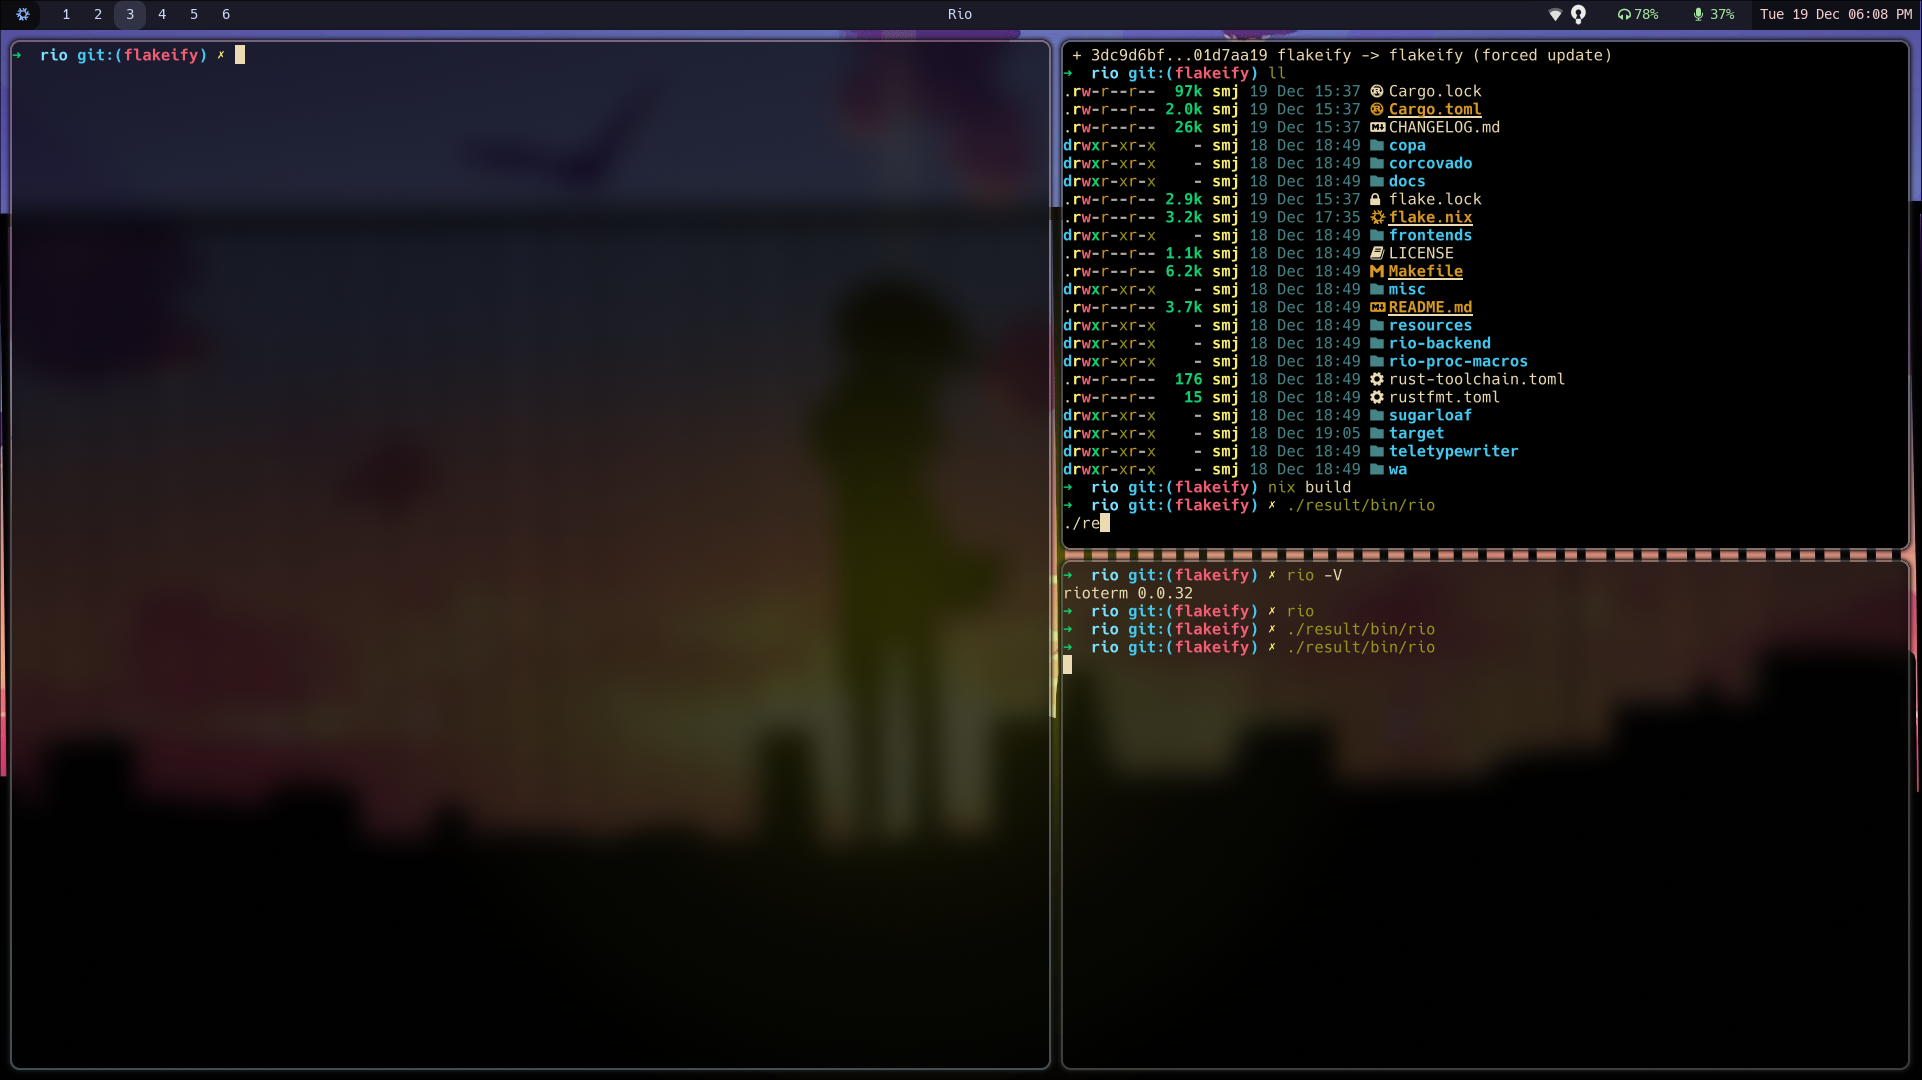
navigation.use-split
Enable split feature. It is enabled by default.
[navigation]
use-split = true
navigation.open-config-with-split
Enable split for open configuration file.
navigation.color-automation
Rio supports specifying the color of tabs using the program and path options.
Note: path is only available for MacOS, BSD and Linux.
[navigation]
color-automation = [
  # Set tab to red (#FF0000) when NeoVim is open.
  { program = "nvim", color = "#FF0000" },
  # Set tab to green  (#00FF00) when in the projects folder
  { path = "/home/YOUR_USERNAME/projects", color = "#00FF00" },
    # Set tab to blue (#0000FF) when in the Rio folder AND vim is open
  { program = "vim", path = "/home/YOUR_USERNAME/projects/rio", color = "#0000FF" },
]
Program
The example below sets #FFFF00 as color background whenever nvim is running.
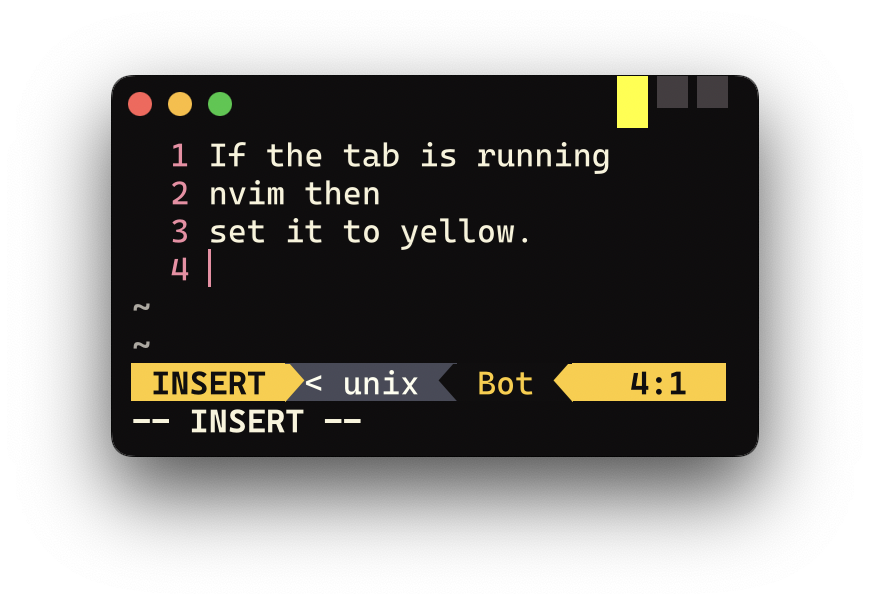
The configuration would be like:
[navigation]
color-automation = [
  { program = "nvim", color = "#FFFF00" }
]
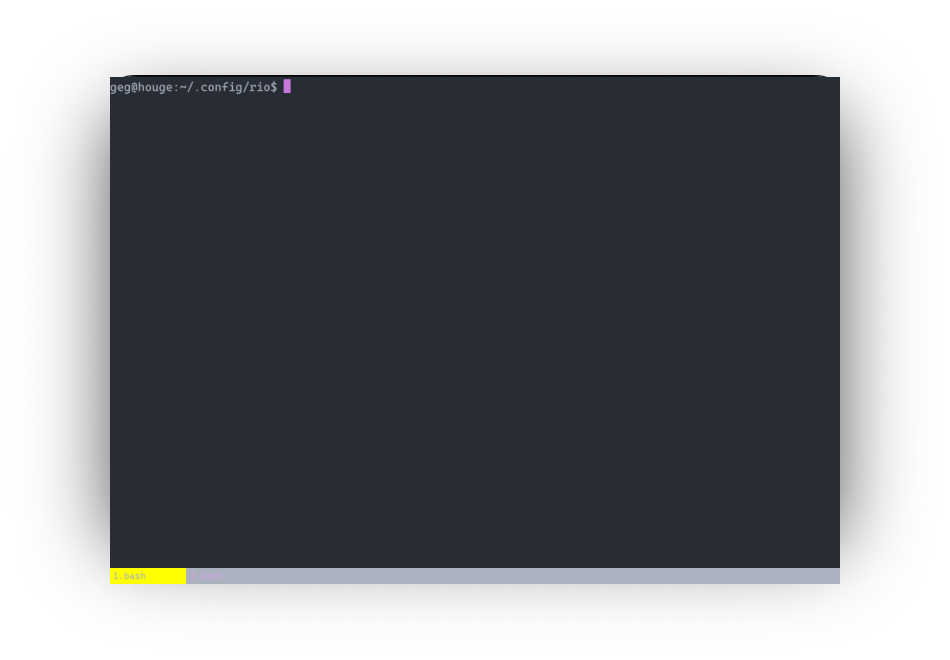
Path
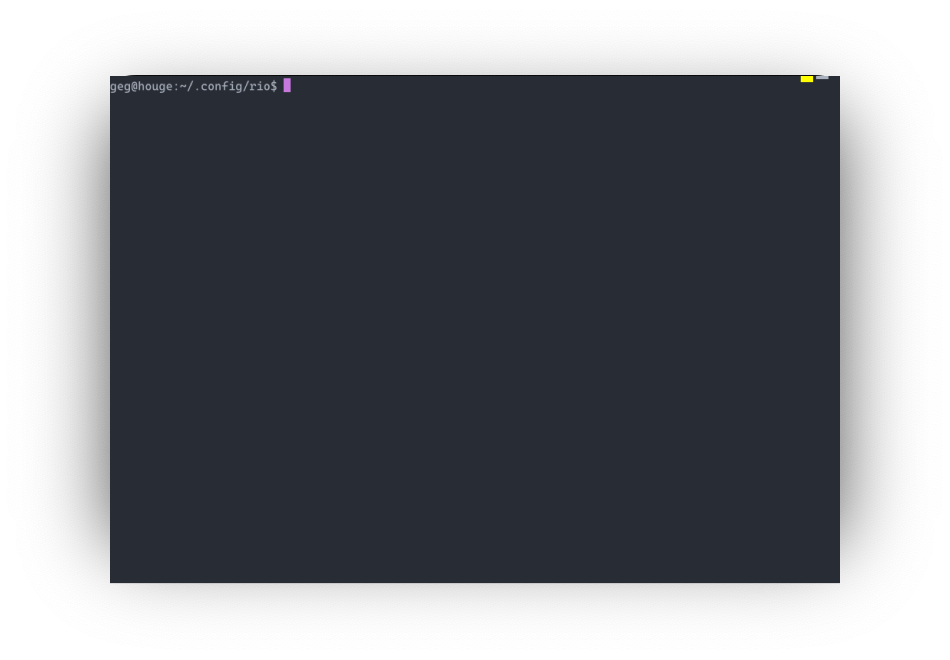
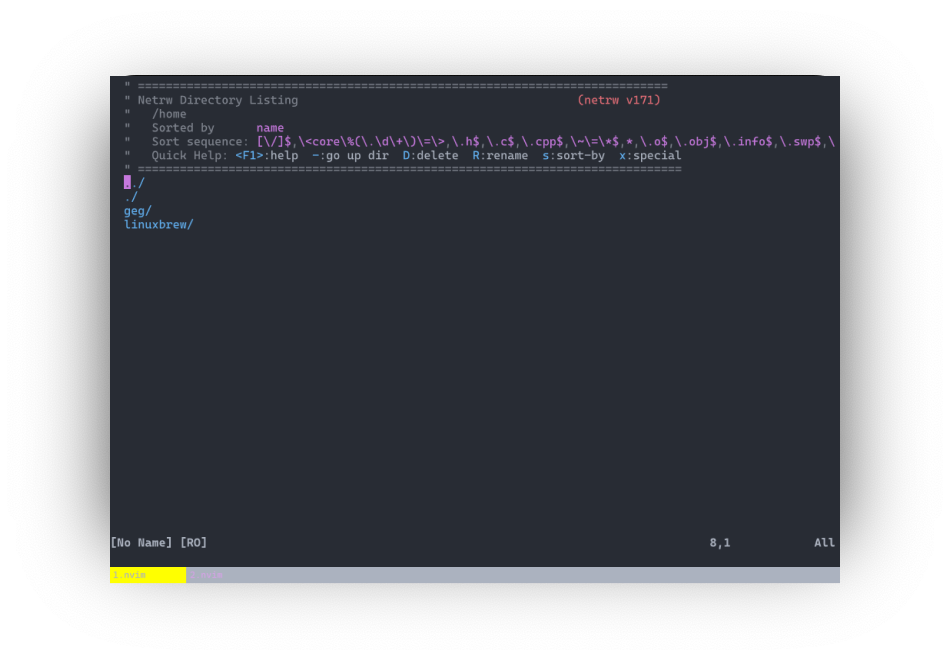
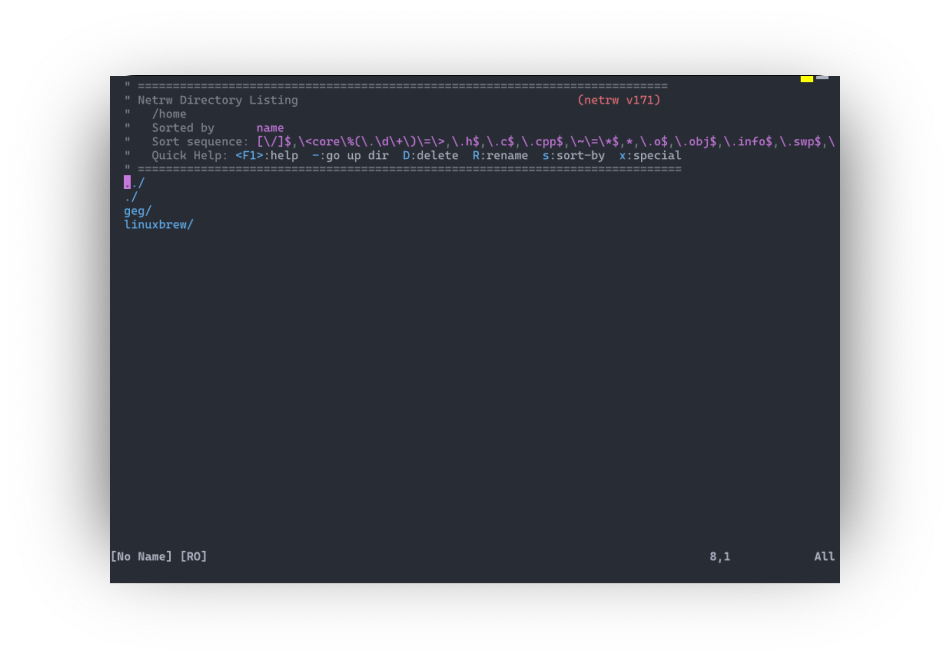
The example below sets #FFFF00 as color background when in the /home/geg/.config/rio path.
Note: path is only available for MacOS, BSD and Linux.
The configuration would be like:
[navigation]
color-automation = [
  { path = "/home/geg/.config/rio", color = "#FFFF00" }
]
Program and path
It is possible to use both path and program at the same time.
The example below sets #FFFF00 as color background when in the /home path and nvim is open.
Note: path is only available for MacOS, BSD and Linux.
The configuration would be like:
[navigation]
color-automation = [
  { program = "nvim", path = "/home", color = "#FFFF00" }
]
navigation.hide-if-single
The property hide-if-single hides navigation UI if there is only one tab. It does not work for NativeTab.
Default is true.
[navigation]
hide-if-single = true
navigation.use-current-path
Use same path whenever a new tab is created (Note: requires use-fork to be set to false).
option-as-alt
This config only works on MacOS.
Possible choices: both, left and right.
option-as-alt = 'left'
padding-x
Define x axis padding (default is 0)
padding-x = 10
padding-y
Define y axis padding based on a format [top, bottom]
- Default is
[0, 0]
padding-y = [15, 10]
platform
Rio allows you to have different configurations per OS, you can write ovewrite Shell, Navigation, Renderer and Window.
Example:
[shell]
# default (in this case will be used only on MacOS)
program = "/bin/fish"
args = ["--login"]

[platform]
# Microsoft Windows overwrite
windows.shell.program = "pwsh"
windows.shell.args = ["-l"]

# Linux overwrite
linux.shell.program = "tmux"
linux.shell.args = ["new-session", "-c", "/var/www"]
renderer.performance
Set WGPU rendering performance.
High: Adapter that has the highest performance. This is often a discrete GPU.Low: Adapter that uses the least possible power. This is often an integrated GPU.
[renderer]
performance = "High"
renderer.backend
Set WGPU rendering backend.
Automatic: Leave Sugarloaf/WGPU to decideGL: Supported on Linux/Android, and Windows and macOS/iOS via ANGLEVulkan: Supported on Windows, Linux/AndroidDX12: Supported on Windows 10Metal: Supported on macOS/iOS
[renderer]
backend = "Automatic"
renderer.disable-unfocused-render
This property disable renderer processes while Rio is unfocused.
Default is false.
[renderer]
disable-unfocused-render = false
renderer.target-fps
This configuration is disabled by default but if isLimits the maximum number of frames per second that rio terminal will attempt to draw on a specific frame per second interval.
[renderer]
target-fps = 120
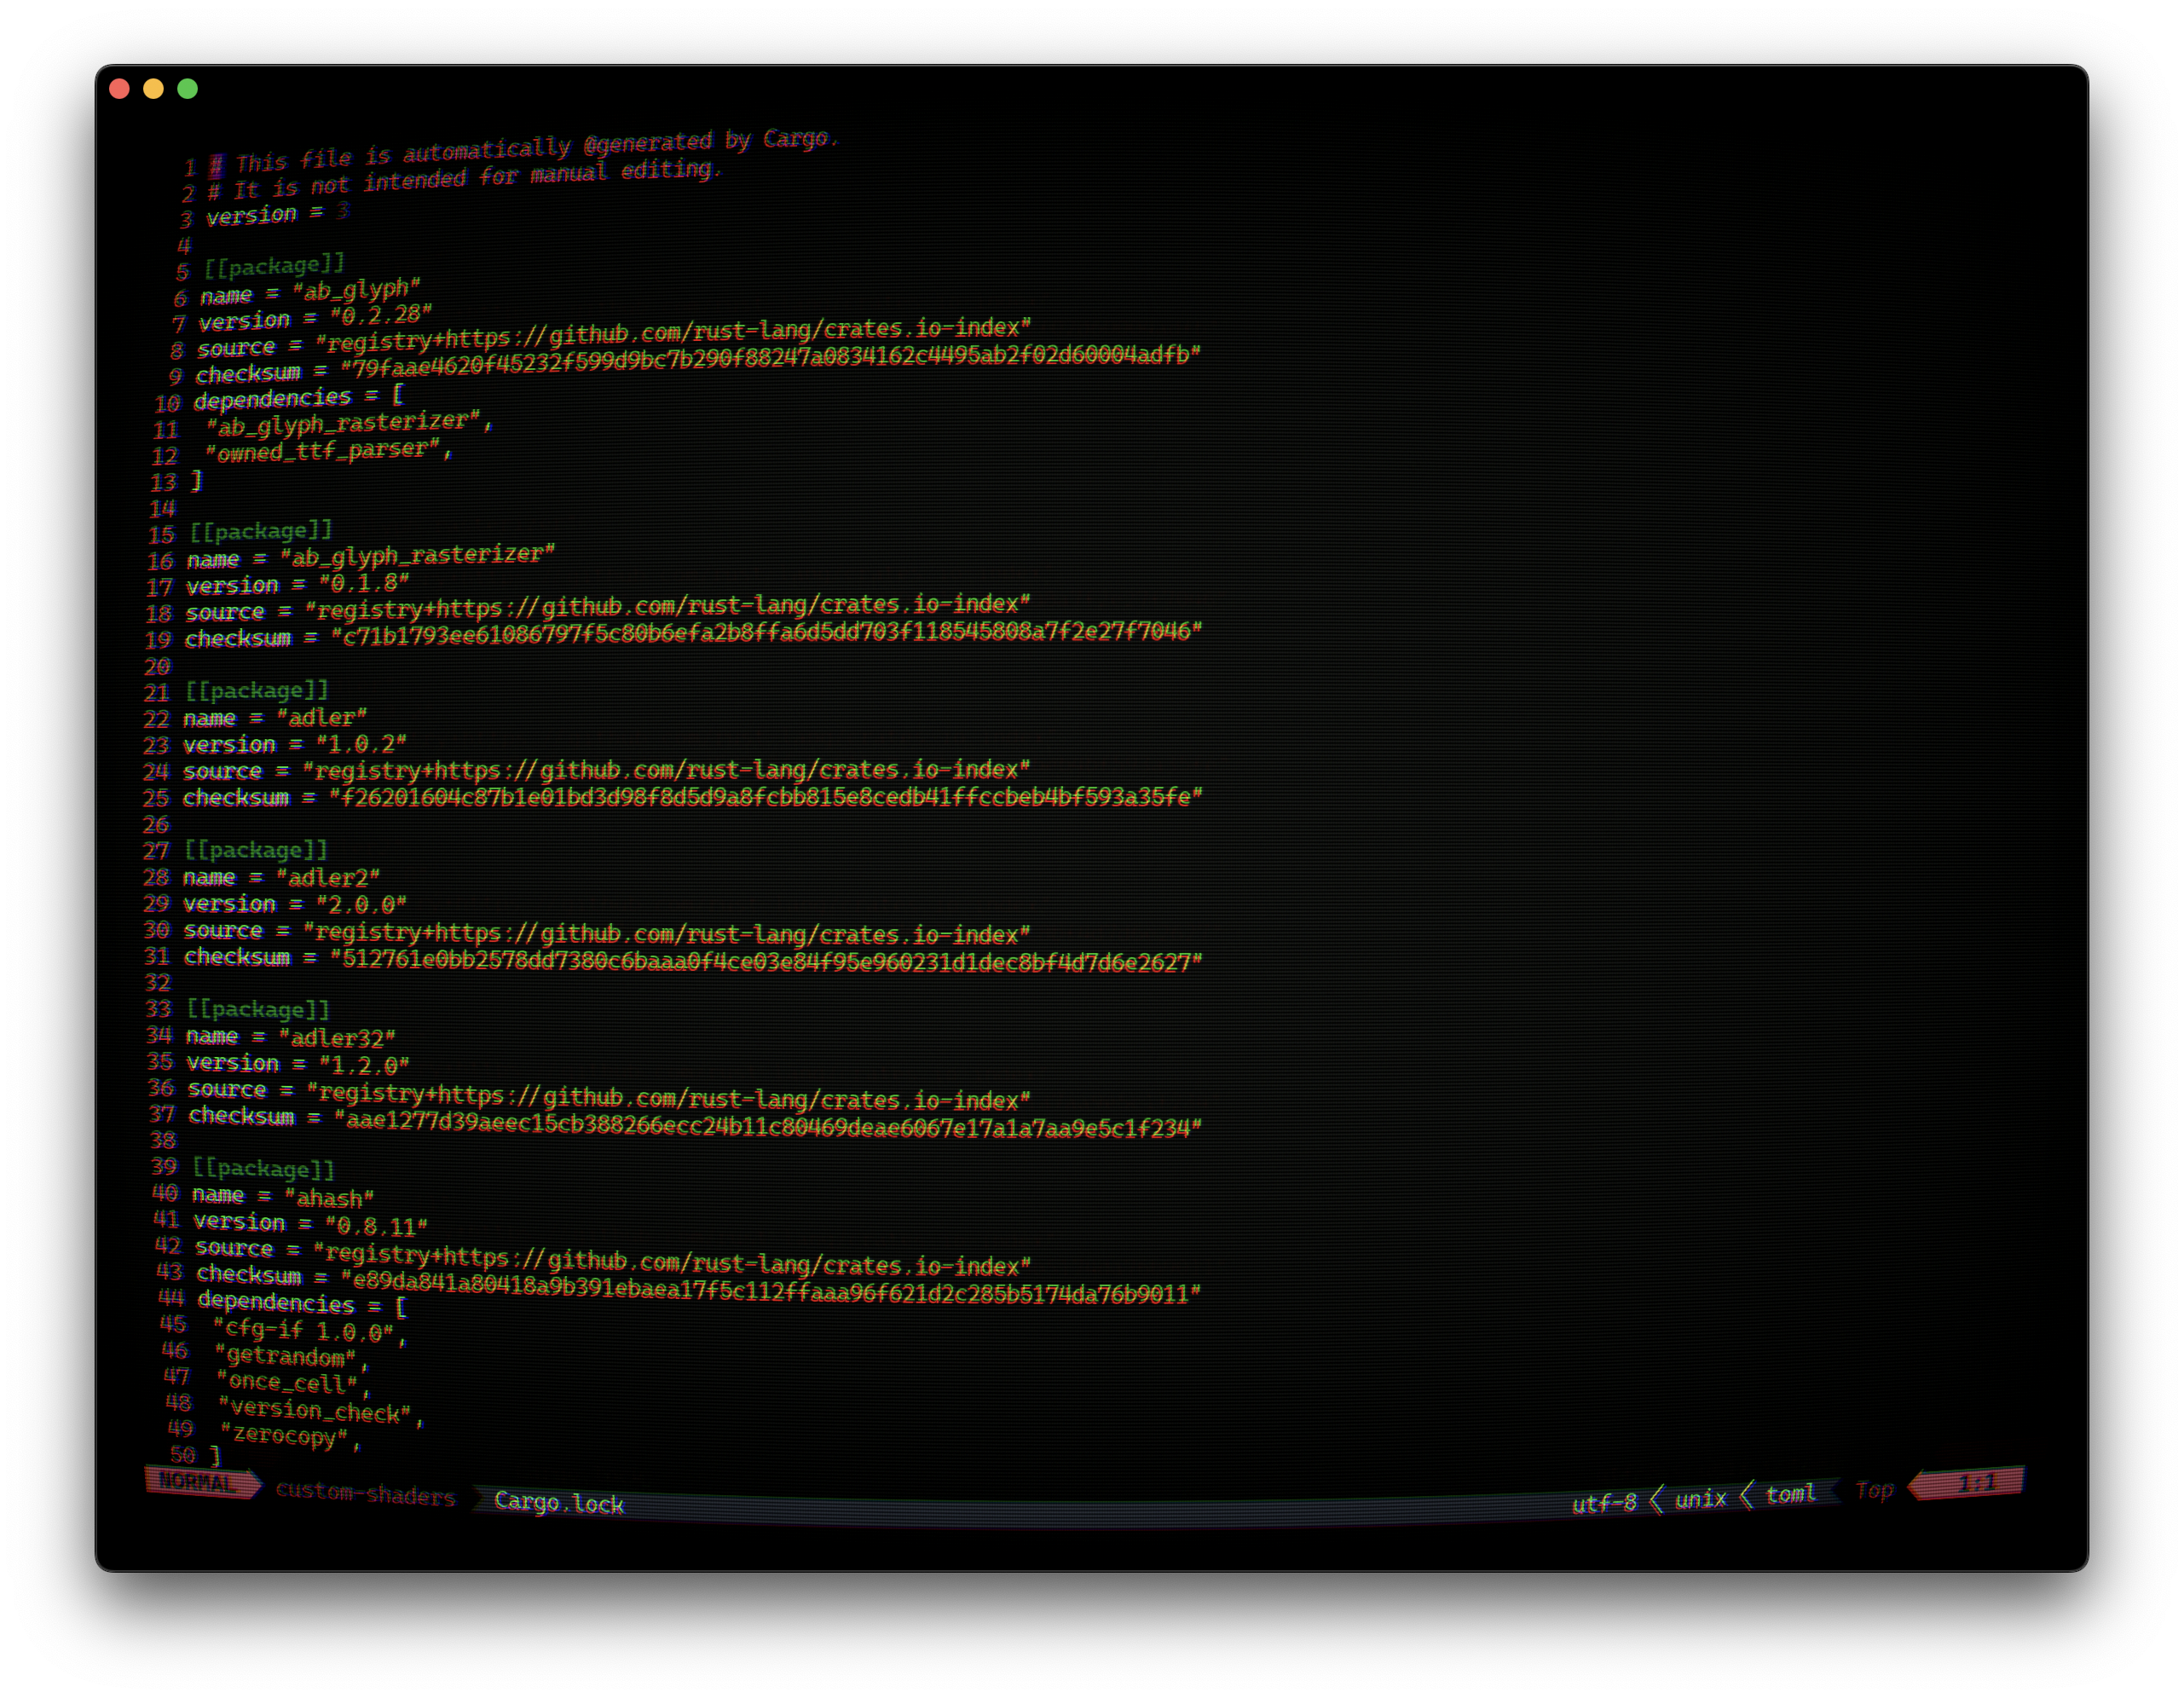
renderer.filter
Rio allow to configure filters based on RetroArch shaders: github.com/libretro/slang-shaders.
Note: Filters does not work with GL backend.
[renderer]
filters = [
  "/Users/raphael/Downloads/slang-shaders-master/crt/newpixie-crt.slangp"
]
renderer.strategy
Strategy property defines how Rio will render, by default it follows Event driven (Events), but you can change it to a continuous loop (that will consume more CPU) by changing to Continuous.
[renderer]
strategy = "events"
scroll
You can change how many lines are scrolled each time by setting this option. Scroll calculation for canonical mode will be based on lines = (accumulated scroll * multiplier / divider).
If you want a quicker scroll, keep increasing the multiplier. If you want to reduce scroll speed you will need to increase the divider.
You can combine both properties to find the best scroll for you.
- Multiplier default is
3.0. - Divider default is
1.0.
Example:
[scroll]
multiplier = 3.0
divider = 1.0
shell
You can set shell.program to the path of your favorite shell, e.g. /bin/fish.
Entries in shell.args are passed unmodified as arguments to the shell.
Default:
- (macOS) user login shell
- (Linux/BSD) user login shell
- (Windows) powershell
Shell Examples
- MacOS using fish shell from bin path:
[shell]
program = "/bin/fish"
args = ["--login"]
- Windows using powershell:
[shell]
program = "pwsh"
args = []
- Windows using powershell with login:
[shell]
program = "pwsh"
args = ["-l"]
- MacOS with tmux installed by homebrew:
[shell]
program = "/opt/homebrew/bin/tmux"
args = ["new-session", "-c", "/var/www"]
theme
The configuration property theme is used for specifying the theme. Rio will look in the themes folder for the theme.
You can see common paths for the themes directory here:
Note: Remember to replace "YOUR_USERNAME" with your actual user name.
| Platform | Path |
|---|---|
| Mac | /Users/YOUR_USERNAME/.config/rio/themes |
| Linux | /home/YOUR_USERNAME/.config/rio/themes |
| Windows | C:\Users\YOUR_USERNAME\AppData\Local\rio\themes |
In the example below, we will setup the Dracula theme for Rio. The theme can be downloaded from github.com/dracula/rio-terminal.
After downloading the dracula.toml file, move it inside the folder themes in the configuration folder.
#  ~/.config/rio/config.toml
theme = "dracula"
It should look like this:
Another option would be to install the Lucario color scheme for Rio terminal, by moving the downloaded file to ~/.config/rio/themes/lucario.toml and setting the theme property:
#  ~/.config/rio/config.toml
theme = "lucario"

You can find more than 250 themes for Rio terminal in this repository: mbadolato/iTerm2-Color-Schemes/tree/master/rio.
Building your own theme
Building your own theme for Rio is very straightforward.
Simply create a new theme file in your configuration themes folder (E.g. ~/.config/rio/themes/foobar.toml) and choose your preferred colors:
Note: Missing fields will use the default for Rio.
# ~/.config/rio/themes/foobar.toml

[colors]
background = ""
foreground = ""

# Selection
selection-background = ""
selection-foreground = ""

# Navigation
tabs-active = ""
tabs-active-foreground = ""
tabs-active-highlight = ""
bar = ""
cursor = ""
vi-cursor = ""

# Search
search-match-background = ""
search-match-foreground = ""
search-focused-match-background = ""
search-focused-match-foreground = ""

# Regular colors
black = ""
blue = ""
cyan = ""
green = ""
magenta = ""
red = ""
tabs = ""
white = ""
yellow = ""

# Dim colors
dim-black = ""
dim-blue = ""
dim-cyan = ""
dim-foreground = ""
dim-green = ""
dim-magenta = ""
dim-red = ""
dim-white = ""
dim-yellow = ""

# Light colors
light-black = ""
light-blue = ""
light-cyan = ""
light-foreground = ""
light-green = ""
light-magenta = ""
light-red = ""
light-white = ""
light-yellow = ""
After that all you have to do is set the theme property in your configuration file.
# ~/.config/rio/config.toml
theme = "foobar"
Proud of your new theme? Why not share it on the Rio Discord!
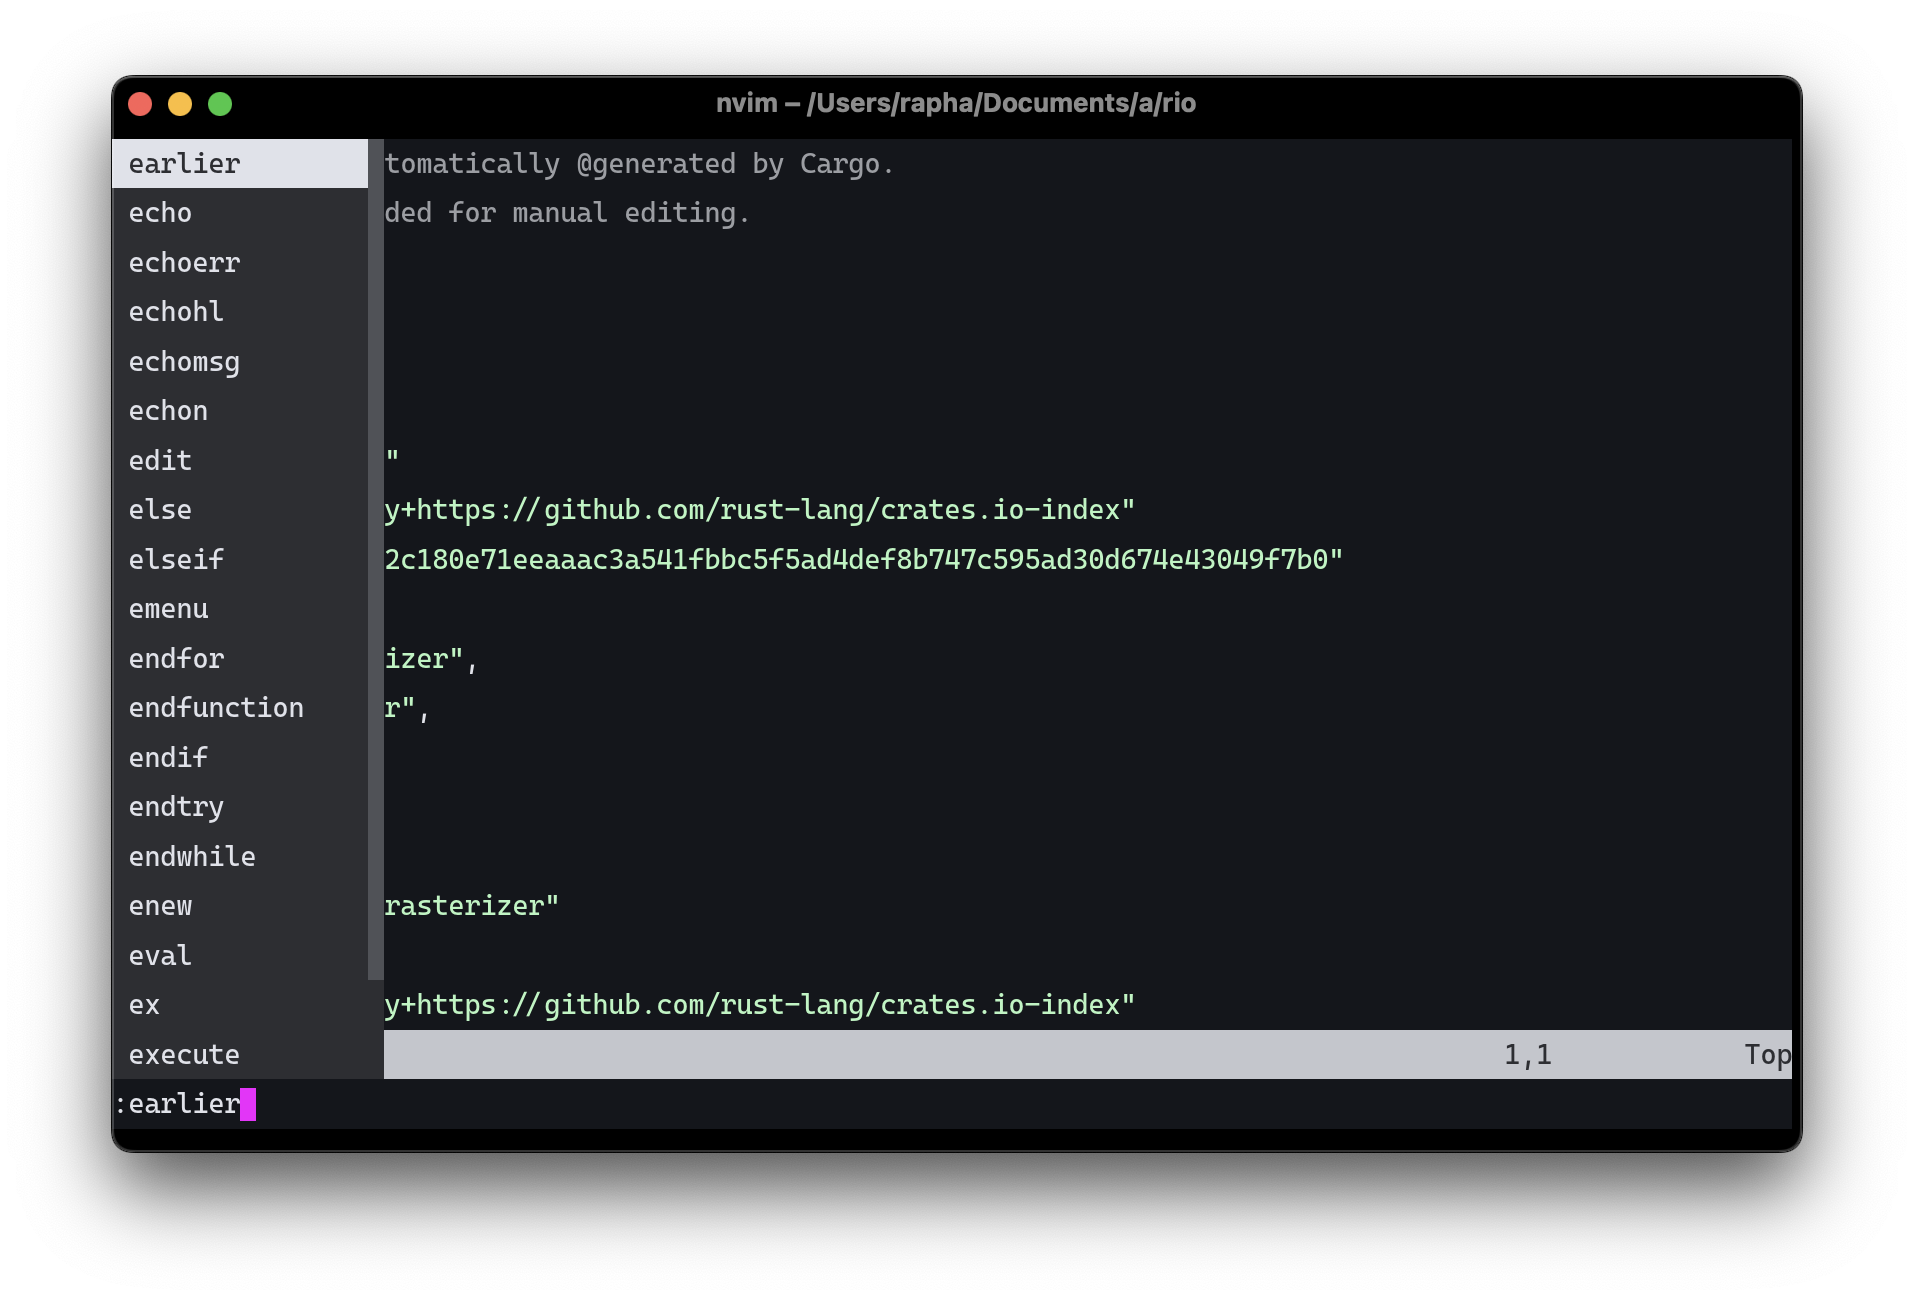
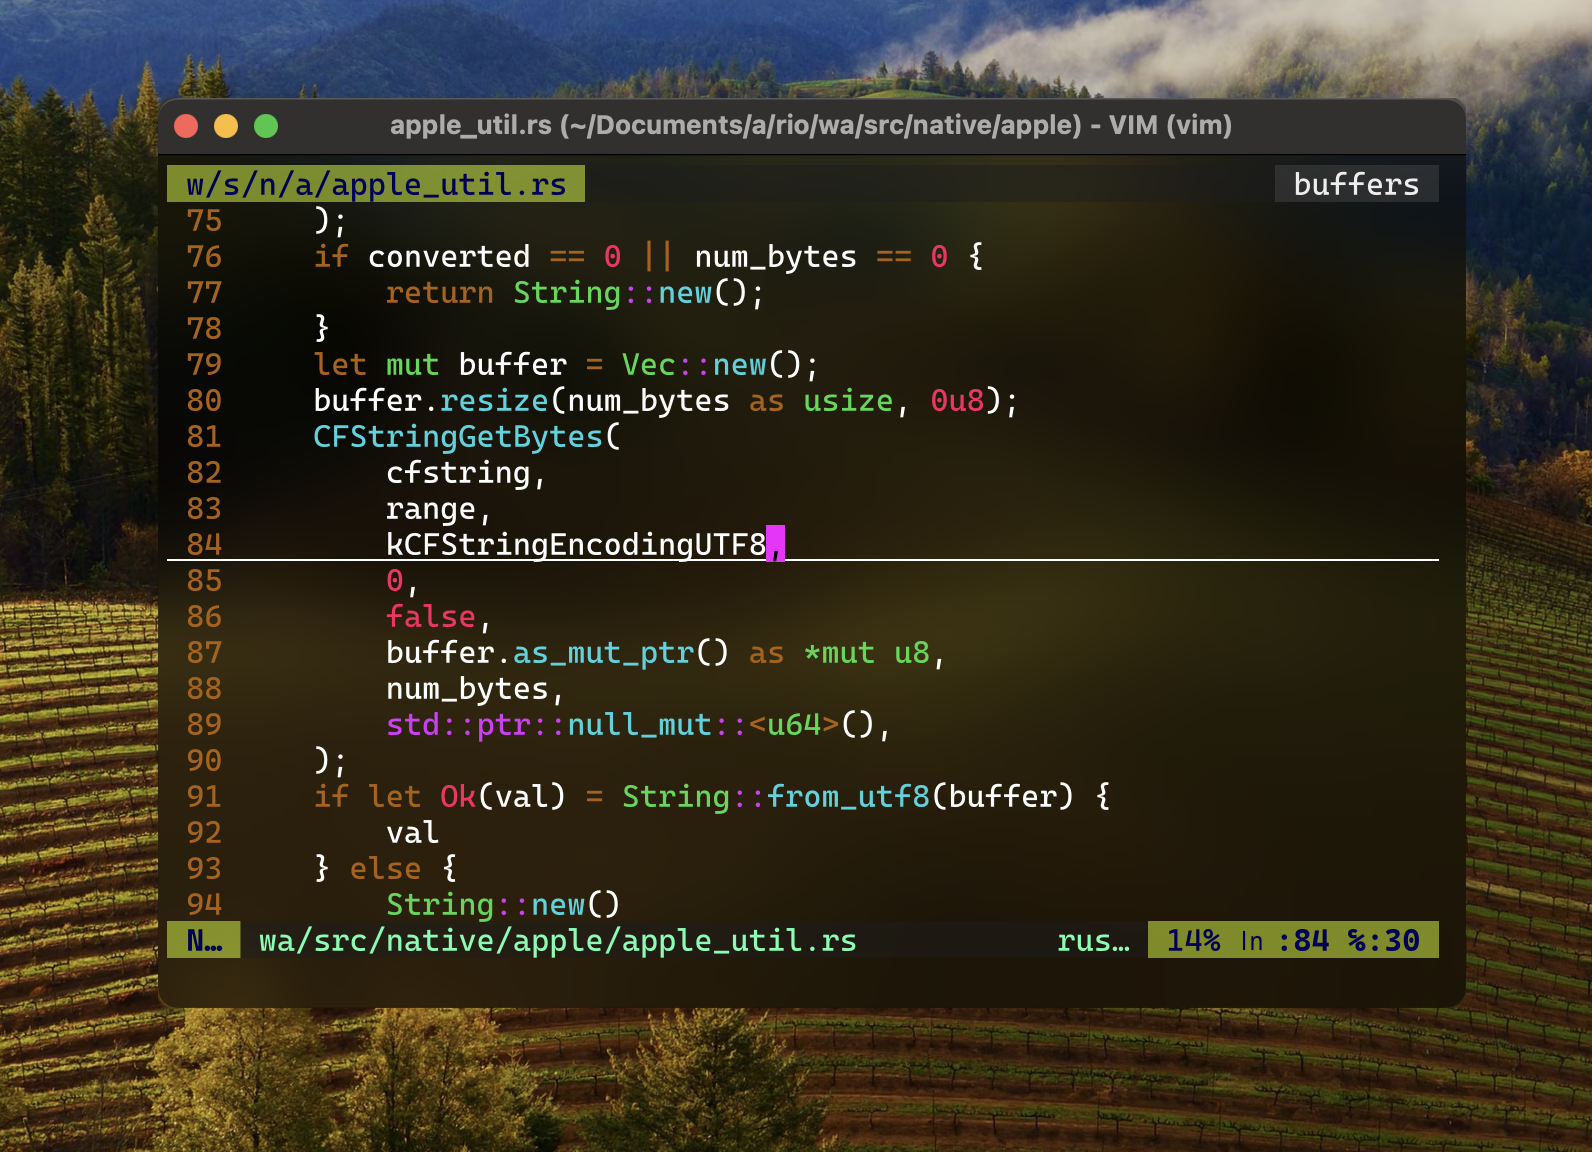
title.content
Configure window title using template. Default: {{ title || program }}
Note: Variables are not case sensitive.
Possible options:
TITLE: terminal title via OSC sequences for setting terminal titlePROGRAM: (e.gfish,zsh,bash,vim, etc...)ABSOLUTE_PATH: (e.g/Users/rapha/Documents/a/rio)
COLUMNS: current columnsLINES: current lines
Example 1:
[title]
content = "{{ PROGRAM }} - {{ ABSOLUTE_PATH }}"
Result: fish - .../Documents/a/rio.
Example 2:
[title]
content = "{{ program }} ({{columns}}x{{lines}})"
Result: fish (85x23).
Example 3:
You can use || operator, in case the value is empty or non-existent it will use the following:
[title]
content = "{{ TITLE | PROGRAM }}"
In this case, TITLE is non-existent so will use PROGRAM.
Result: zsh
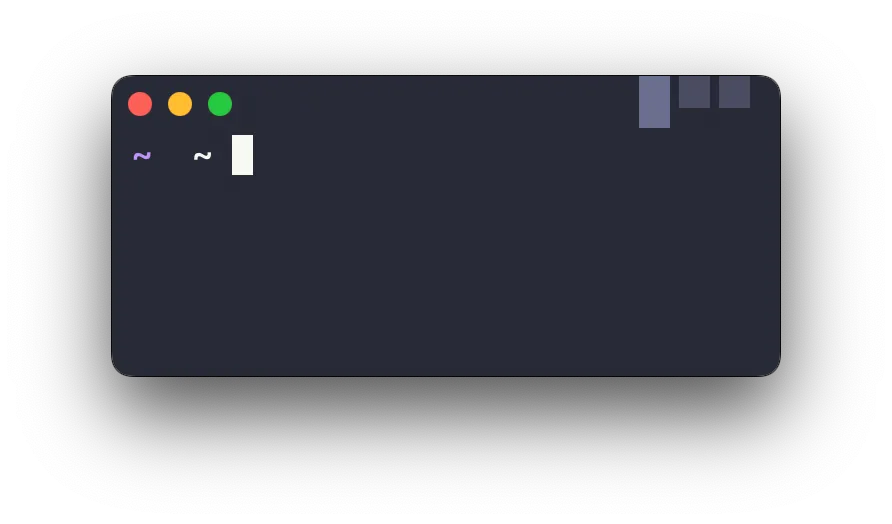
title.placeholder
Configure initial title.
[title]
placeholder = "▲"
use-fork
Defaults for POSIX-based systems (Windows is not configurable):
- MacOS: spawn processes
- Linux/BSD: fork processes
use-fork = false
window.width
Define the initial window width.
- Default:
600
Example:
[window]
width = 600
window.height
Define the initial window height.
- Default:
400
Example:
[window]
height = 400
window.mode
Define how the window will be created
Windowed(default) is based on width and heightMaximizedwindow is created with maximizedFullscreenwindow is created with fullscreen
Example:
[window]
mode = "Windowed"
window.opacity
Set window background opacity.
- Default:
1.0.
Example:
[window]
opacity = 0.5
window.blur
Set blur on the window background. Changing this config requires restarting Rio to take effect.
- Default:
false.
[window]
blur = false
Using blur and background opacity:
[window]
opacity = 0.5
decorations = "enabled"
blur = true
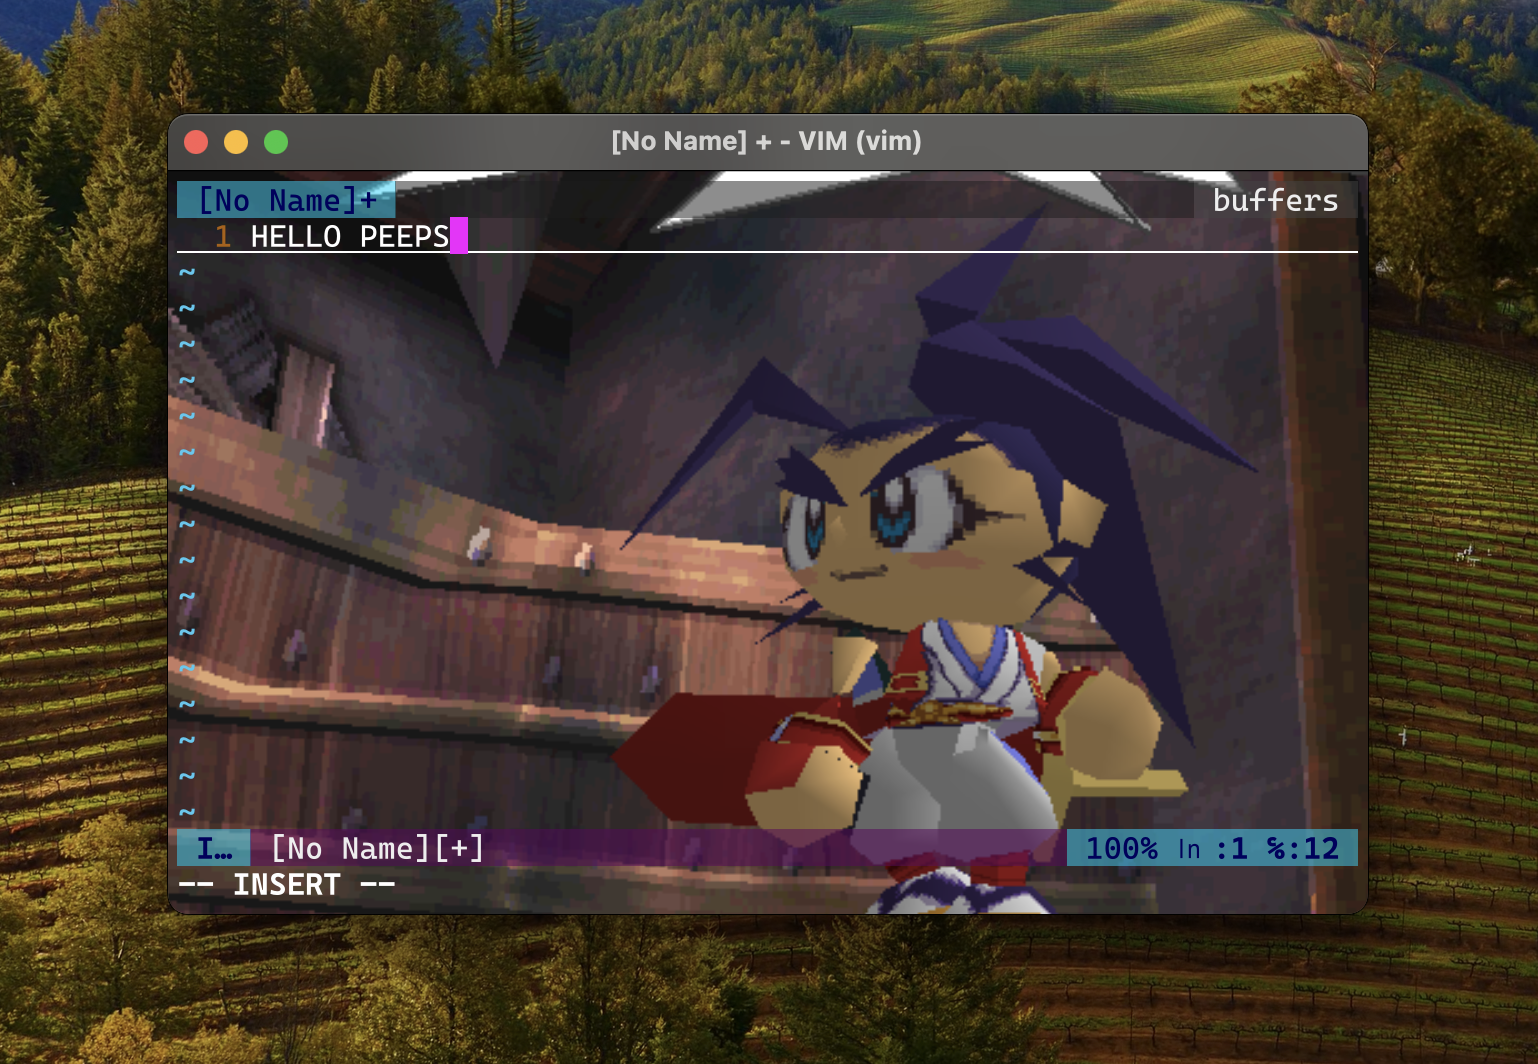
window.background-image
Set an image as background.
- Default:
None
Using image as background:
If both properties width and height are occluded then background image will use the terminal width/height.
[window.background-image]
path = "/Users/hugoamor/Desktop/musashi.png"
opacity = 0.5
x = 0.0
y = -100.0
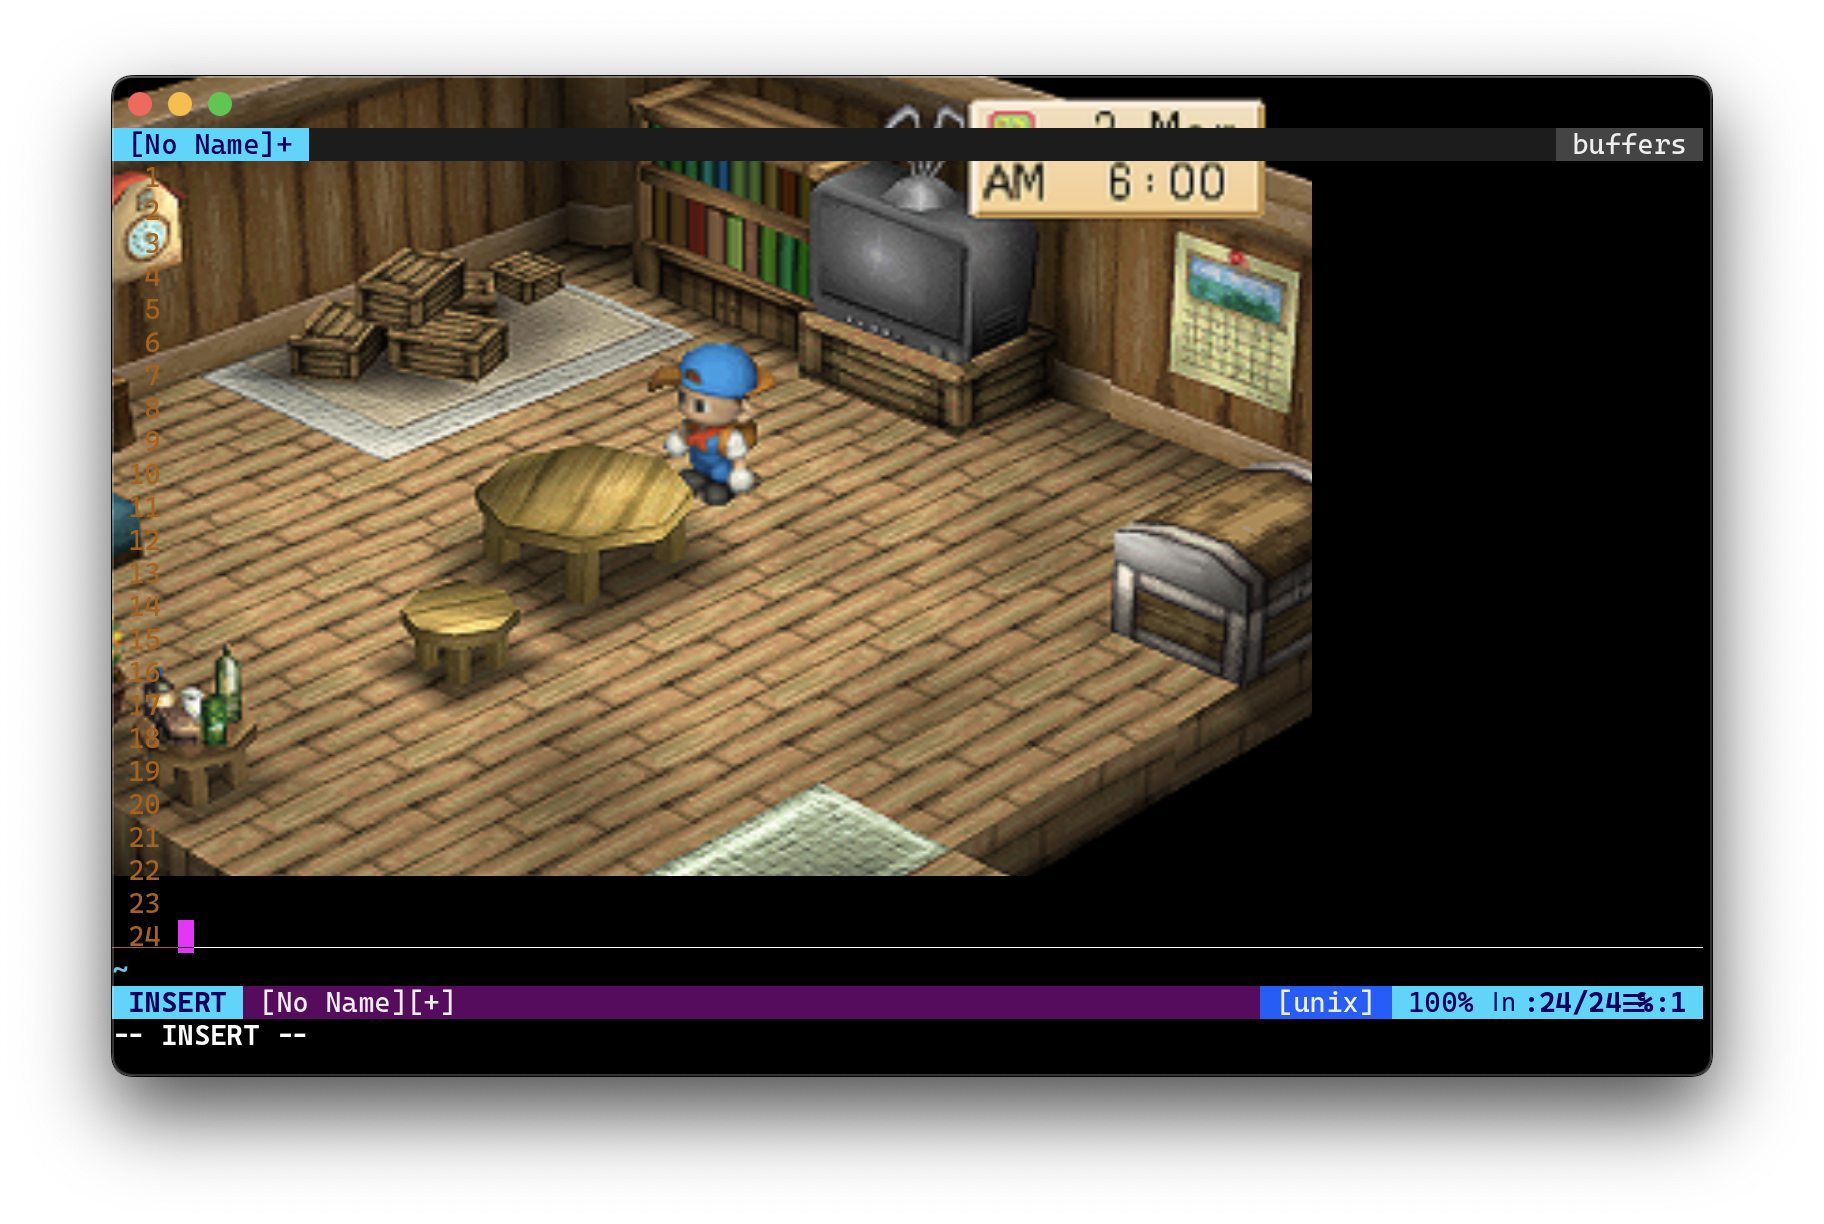
If any property width or height are used then background image will be respected.
[window.background-image]
path = "/Users/hugoamor/Desktop/harvest-moon.png"
width = 1200
height = 800
opacity = 0.5
x = 0.0
y = 0.0
window.decorations
Set window decorations.
Enabled(default for Windows/Linux/BSD) enable window decorations.Disableddisable all window decorations.Transparent(default for MacOS) window decorations with transparency.Buttonlessremove buttons from window decorations.
Example:
[window]
decorations = "Enabled"
window.macos-use-unified-titlebar
You can use MacOS unified titlebar by config, it's disabled by default.
[window]
macos-use-unified-titlebar = false
window.macos-use-shadow
You can enable window shadow on MacOS by config, it's disabled by default.
[window]
macos-use-shadow = true
window.windows-corner-preference
Describes how the corners of a Microsoft Windows window should look like.
Options: Default, DoNotRound,Round and RoundSmall
[window]
windows-corner-preference = "Round"
window.windows-use-undecorated-shadow
Microsoft Windows specific.
Shows or hides the background drop shadow for undecorated windows.
[window]
windows-use-undecorated-shadow = false
window.windows-use-no-redirection-bitmap
Microsoft Windows specific.
This sets WS_EX_NOREDIRECTIONBITMAP.
[window]
windows-use-no-redirection-bitmap = false
working-dir
Directory the shell is started in. If this is unset, the working directory of the parent process will be used.
This configuration only works if use-fork is disabled.
working-dir = '/Users/raphael/Documents/'